This article provides a step-by-step guide on how to change a nozzle in the I-40 rotor. To ensure you select the correct replacement nozzle, please use the links below for verification.
Insert the white key end of the Hunter Adjustment Wrench into the lifting socket of a pop-up sprinkler. Pull the riser up to gain access to the nozzle socket.
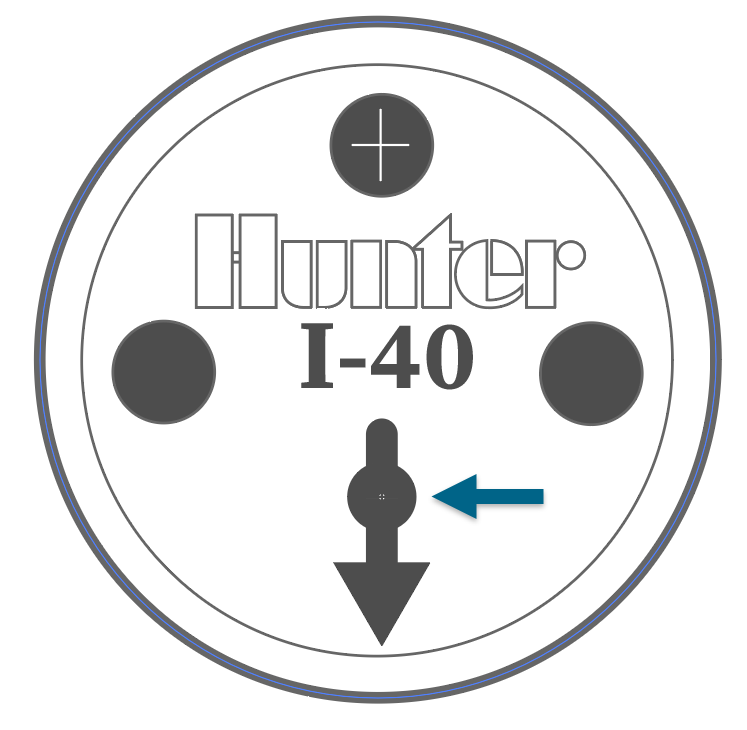
Using the Hunter wrench, loosen the nozzle-retainer/range-adjustment screw. If a nozzle is already installed in the sprinkler, it may now be removed by briefly turning on the water or removing it with pliers.

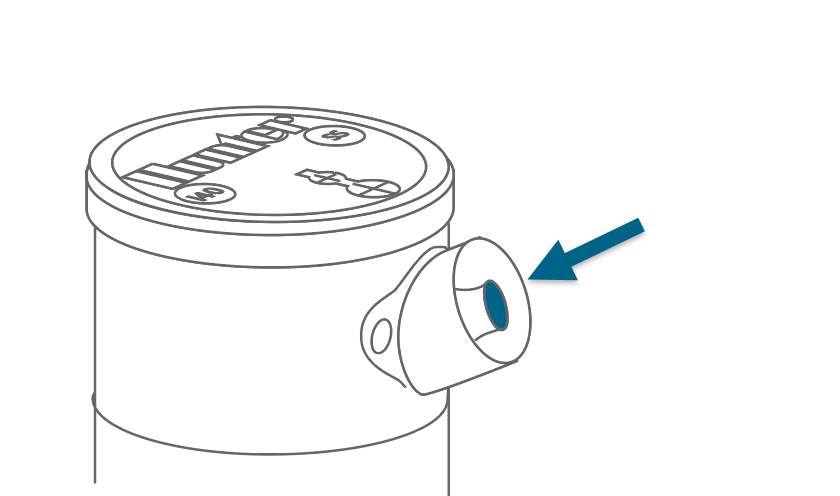
Discard nozzle if removed with pliers. Slip the desired nozzle into the nozzle socket. Note that the socket is angled up 25°. Tighten the nozzle-retainer/range-adjustment screw.
For opposing I-40 models, repeat steps 1 & 2. Install a smaller secondary nozzle on the opposite side of the rotor. The nozzles on both sides must match for optimal performance.
Still need help? We're here.
Tell us what you need support with and we'll find the best solution for you.